How to Build a Low-Cost Hydroponic System: A DIY Step-by-Step Guide (2026)
By Farmers Advisory Editorial Team ·
Published August 5, 2026 · Updated August 5, 2026 · 10 min read ·
Category: Hydroponic Farming
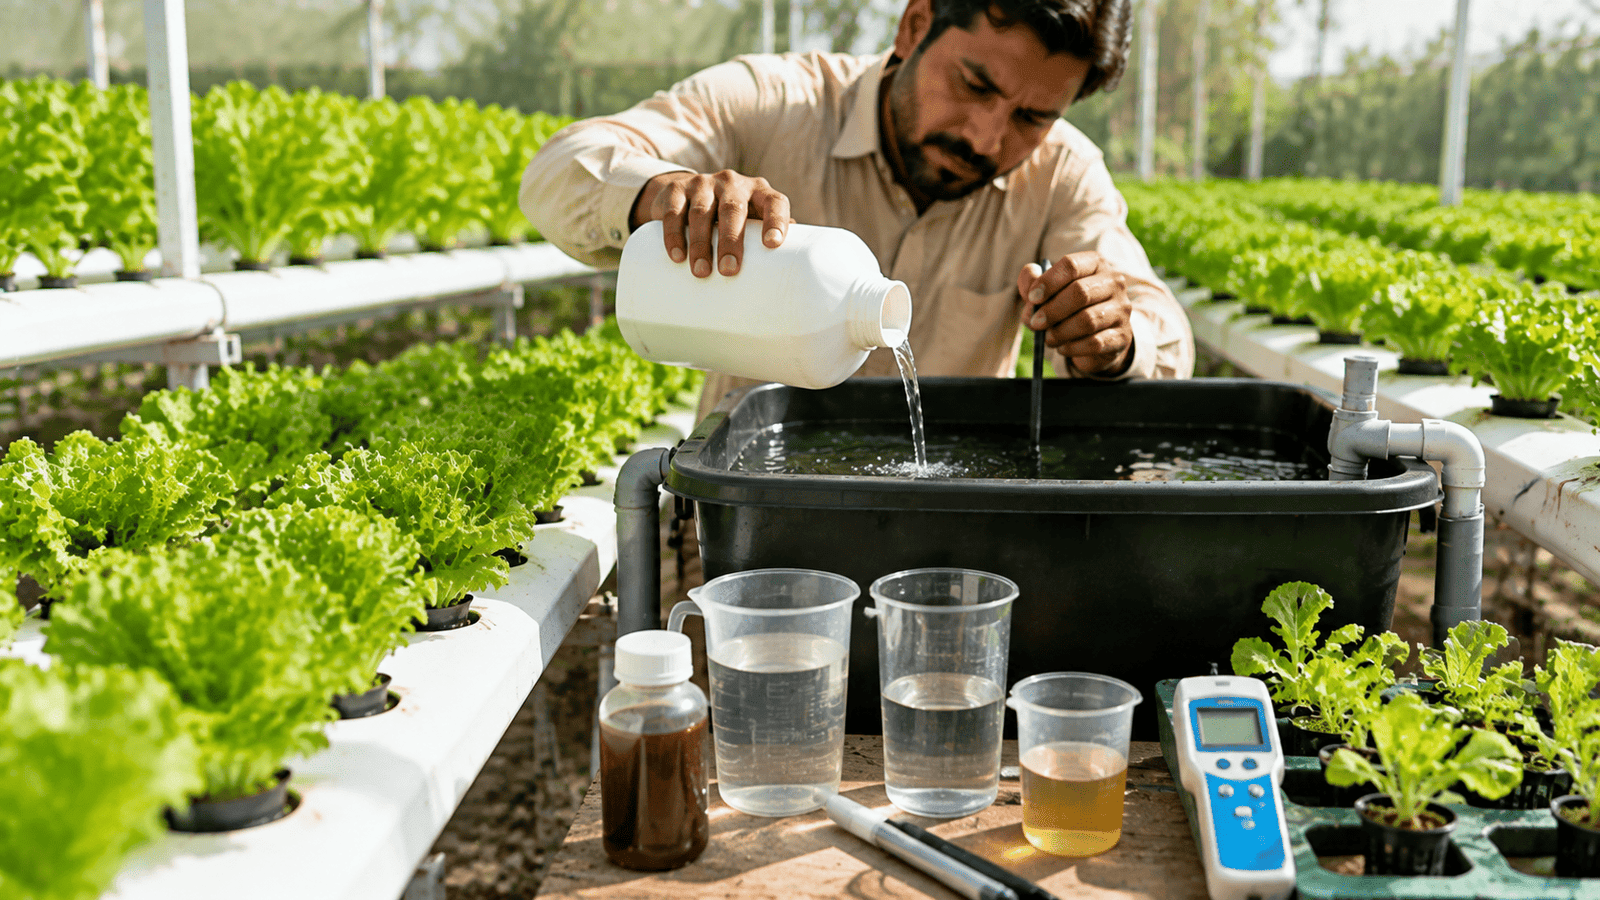
A basic DIY Deep Water Culture bucket system needs only a handful of components — a food-safe bucket, an air pump, net pots, and a growing medium.
You don't need commercial-grade equipment to grow food hydroponically — a functional system can
be built from a handful of inexpensive, widely available parts. This guide walks through
how to build a low-cost hydroponic system at home: which materials are genuinely
fine to substitute, which ones are worth buying purpose-built, and the full assembly, testing, and
maintenance process, without cutting corners that create food-safety or reliability risks.
Key Takeaways
A basic Deep Water Culture (DWC) bucket system is the cheapest and simplest system to DIY, needing only a handful of parts.
Not every household container is safe for growing food — stick to food-grade, opaque plastic to avoid leaching chemicals and to block algae-promoting light.
Some components (air pumps, pH testing kits, nutrient formulas) are worth buying purpose-built rather than improvised, since they directly affect plant health and food safety.
"Low-cost" and "unreliable" aren't the same thing — a cheap system can still be sturdy and safe if you choose materials carefully.
Testing the system with plain water before adding seedlings catches leaks, pump issues, and lid-fit problems before they cost you a plant.
Choosing the System to Build
For a first low-cost DIY build, a bucket-based Deep Water Culture (DWC) system is the most
practical choice. It needs the fewest specialized parts, has no pump-driven water flow to get
wrong, and scales easily by adding more buckets. Wick systems are even simpler and need no
electricity at all, but only suit very small, low-nutrient-demand plants. More complex systems like
NFT or drip involve tubing, pumps, and flow-rate tuning that add cost and failure points a first DIY
build doesn't need.
Materials List and Safe Substitutions
Low-Cost Materials by Component
Component
Low-Cost Option
Buy Purpose-Built?
Reservoir
Food-grade plastic bucket or storage tote (opaque, not clear)
Optional — food-grade containers are widely available cheaply
Net pots
Small plastic cups with drilled drainage/root holes
Cheap purpose-built net pots are inexpensive and worth it
Growing medium
Clay pebbles or coco coir
Buy purpose-built — avoid improvised media that can rot or introduce contaminants
Air pump and air stone
Small aquarium air pump
Buy purpose-built — this is not a safe place to improvise
Nutrient solution
None — always a purpose-made hydroponic formula
Always buy purpose-built
pH testing
Liquid test kit (cheaper than a meter)
Buy purpose-built — accuracy matters here
Plant support
Foam or fabric collar around net pot stems
DIY is fine
Low-Cost vs. Unsafe or Unreliable
⚠️ Important
Not every cheap container is food-safe. Avoid containers not rated for food contact, since some
plastics can leach chemicals into the nutrient solution your plants — and eventually you — absorb.
Avoid clear or translucent containers for the reservoir, since light exposure encourages algae
growth inside the system.
Food-grade, opaque plastic buckets or totes are both cheap and safe — this isn't a tradeoff you need to make
Improvised growing media (garden soil, random shredded material) can introduce pathogens or break down and clog the system — stick to purpose-made inert media
An undersized or off-brand air pump that can't adequately aerate your reservoir volume isn't "low-cost," it's just underpowered — check the pump's rated output against your reservoir size
Skipping a nutrient solution formulated for hydroponics in favor of soil fertilizer isn't a cost-saving substitution — it risks nutrient lockout and poor plant health
Step-by-Step Assembly
DIY DWC Bucket System — Build Steps
Step
Action
1
Clean the bucket or tote thoroughly with mild soap and rinse fully
2
Trace and cut net pot holes in the lid, sized to snugly hold each net pot
3
Drill a small hole in the lid or side for the air pump tubing to pass through
4
Place the air stone inside the reservoir, connected to tubing running to the air pump outside
5
Fill the reservoir with water, leaving room for net pots to sit with roots reaching the water
6
Fill net pots with growing medium around the base of each seedling or germinated cube
7
Set net pots into the lid holes and confirm roots will reach the solution once submerged
Nutrients, Water, and pH Testing
Mix a hydroponic-specific nutrient solution according to the product's feeding chart for your crop's growth stage
Test pH before adding plants, and adjust with pH up or down solution until it sits in your crop's target range (commonly around 5.5-6.5 for most vegetables and herbs)
Use dechlorinated or filtered water where possible — heavily chlorinated tap water can be left to sit uncovered for a day to allow some chlorine to dissipate
Retest pH after mixing nutrients, since adding nutrients can shift the reading
Lighting and Plant Support
If growing indoors without strong direct sunlight for most of the day, add a basic grow light on a timer sized to your crop's light needs
A simple foam collar or fabric strip wrapped around the stem where it meets the net pot helps support young plants until roots anchor them
Taller or heavier plants may need external staking, since there's no soil to anchor the base
Testing the System and Adding Seedlings
💡 Quick Tip
Run the system with plain water and the air pump on for 24-48 hours before adding plants. This
surfaces leaks, confirms the pump and air stone are working, and lets you check that net pots sit
correctly without letting the lid rock or gap.
Germinate seeds separately in growing medium cubes kept moist, rather than starting them directly in the system
Once true leaves appear and roots are visible, transfer seedlings into net pots filled with growing medium
Lower net pots into the lid so roots just reach the nutrient solution surface, adjusting water level as needed
Monitoring, Cleaning, and Maintenance
Check pH and nutrient concentration every 2-3 days, since evaporation concentrates the remaining solution over time
Top up with plain water between full solution changes to maintain the water level as plants and evaporation draw it down
Inspect the air stone periodically — mineral buildup can reduce bubble output over time and may need occasional cleaning or replacement
Fully drain, clean, and rinse the reservoir between growing cycles to prevent algae and pathogen buildup before starting the next batch
Frequently Asked Questions
Can I use any plastic bucket for a hydroponic reservoir?
No. Use a food-grade, opaque plastic container. Non-food-grade plastics can leach chemicals
into the nutrient solution, and clear containers encourage algae growth from light exposure.
Is a low-cost DIY hydroponic system less reliable than a store-bought kit?
Not necessarily. Reliability depends on component quality and correct assembly, not price —
a carefully built DIY system with the right materials can be just as reliable as a kit.
What's the cheapest hydroponic system to build?
A basic Deep Water Culture bucket system is generally the cheapest and simplest to build,
needing only a bucket, net pots, growing medium, an air pump, and an air stone.
Can I skip the air pump to save money?
Not in a DWC system — roots are fully submerged and depend on the air pump for oxygen.
Skipping it risks root rot and plant death, so this isn't a safe place to cut cost.
Do I need a pH meter, or is a test kit good enough?
A liquid test kit is a lower-cost, adequately accurate option for beginners. A digital meter
is faster and more precise but not strictly necessary for a first small system.
Conclusion
Building a low-cost hydroponic system means choosing where to save money and where not to. Food-
grade containers, purpose-built net pots, and a correctly sized air pump are all inexpensive and
worth getting right; skipping a proper nutrient formula, an adequate air pump, or a food-safe
reservoir isn't cost-saving, it's just risk. Get the safe fundamentals in place, test the system
before adding plants, and a bucket-based DWC build can produce results comparable to a much pricier kit.
Want more hydroponic farming guides delivered to your inbox every week?
Data sources: Cornell University Controlled Environment Agriculture program guidance; Utah State
University Extension hydroponics fact sheets; Penn State Extension home hydroponic gardening
guidance; Virginia Tech Extension hydroponic systems guidance. Figures represent general guidance
and vary by build quality, materials, and crop. Current as of August 5, 2026.
 Farmers Advisory